Muston Observatory
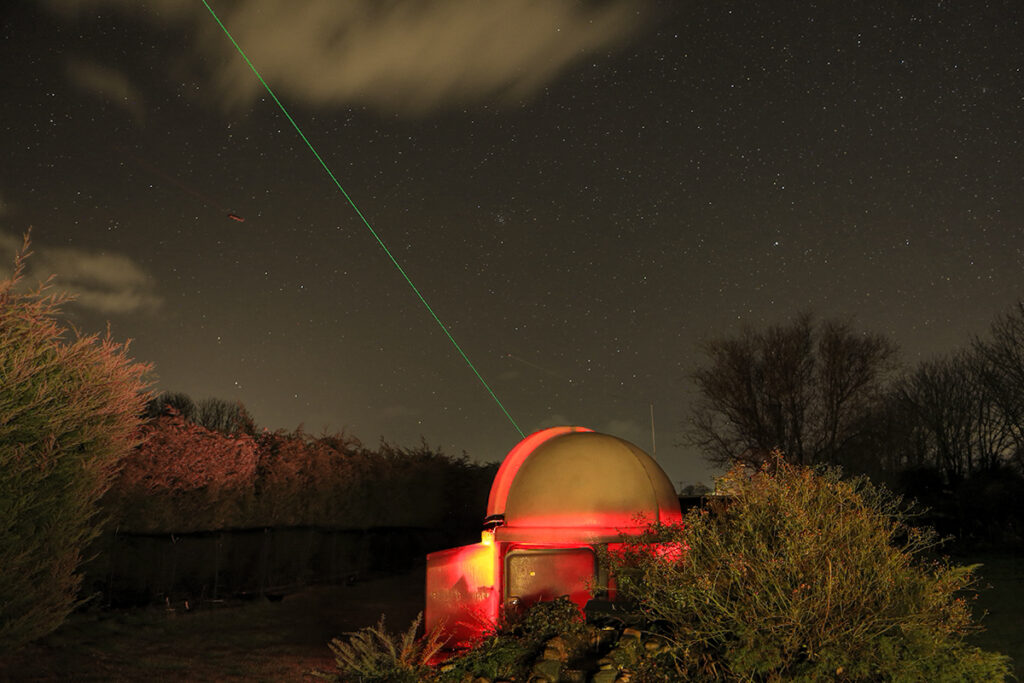
The Muston Observatory is a remote controlled astronomical observatory located near Filey in North Yorkshire.
The observatory consists primarily of a SkyWatcher Equinox ED120 refractor on a NEQ6 Pro mount. In addition, a DSLR camera mount is placed above riding “piggy back” so that widefield imaging may also be performed. The Equinox can be removed and replaced with a Willam Optics ZS73 Zenithstar.
Mount control and acquisition is conducted using a Primaluce Eagle 3S astro computer.
Imaging is performed using a variety of DSLR cameras (standard and astro modified) all controlled via Backyard EOS. Two dedicated ZWO cameras (mono/colour) can also be added.
Guiding is performed independently using a StarAid Revolution revision B.
Mission Control
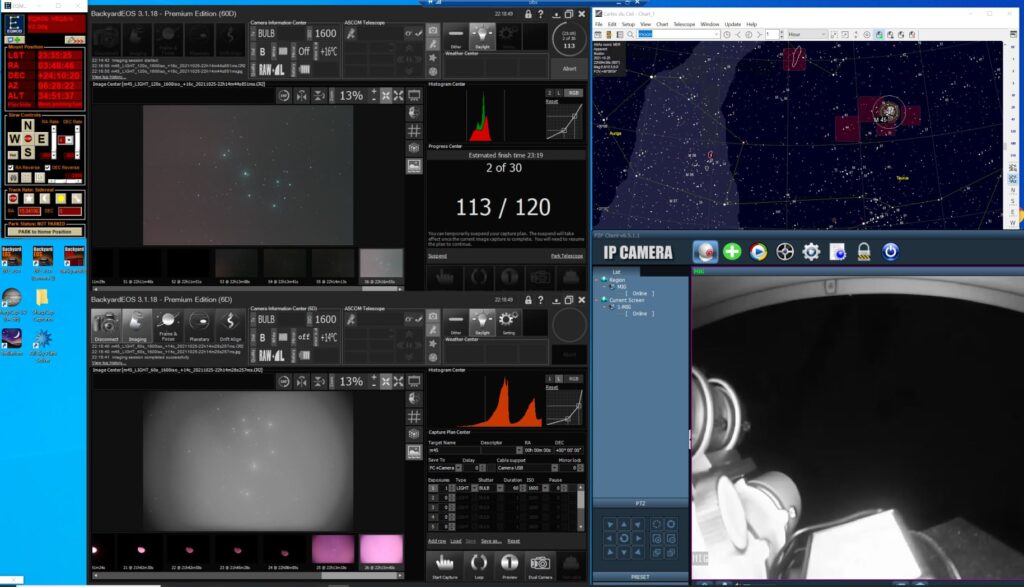
The remoting is done over a secure WiFi network using an Asus ZenWiFi XT8 MESH network that provides a full strength signal back to Mission Control back at the annex.
Backyard EOS enables operation of two Canon imaging cameras simultaneously where amount of captures, shutter speed, iso settings are integrated into an imaging workflow. Sharpcap is used to control the two dedicated astronomy cameras (ZWO ASI) if that is the preferred imaging option.
Acquisition is performed by Cartes duCiel
Mount control by EQMOD.
There is also a separate IP camera monitoring the inside of the observatory – this also helps if a target is selected and the dome needs to be moved.
The dome itself is a SkyShed Pod that utilises a clamshell design that provides 180° of visibility. I have had to modify the dome by installing internal gutters due to the heavy rain we get and the water previously leaked in around the hinges. Two dehumidifiers are also within the dome itself should they be needed together with a radiator and fan to control temperature extremes.
The floor is raised allowing for the majority of the power cables to be located underneath and it is fully carpeted within. A number of motion detection cameras keep an eye on potential foxes trying to nibble in.
Pre Covid, the intention was to be able to conduct Outreach events including an imaging workshop. Hopefully, we will get back to a safe time to continue and progress this direction. I do however provide Solar Outreach locally using a Lunt LS60 Solar Telescope on a SkyWatcher SolarQuest portable tracking mount. This setup can be taken anywhere where the sun might be shining !
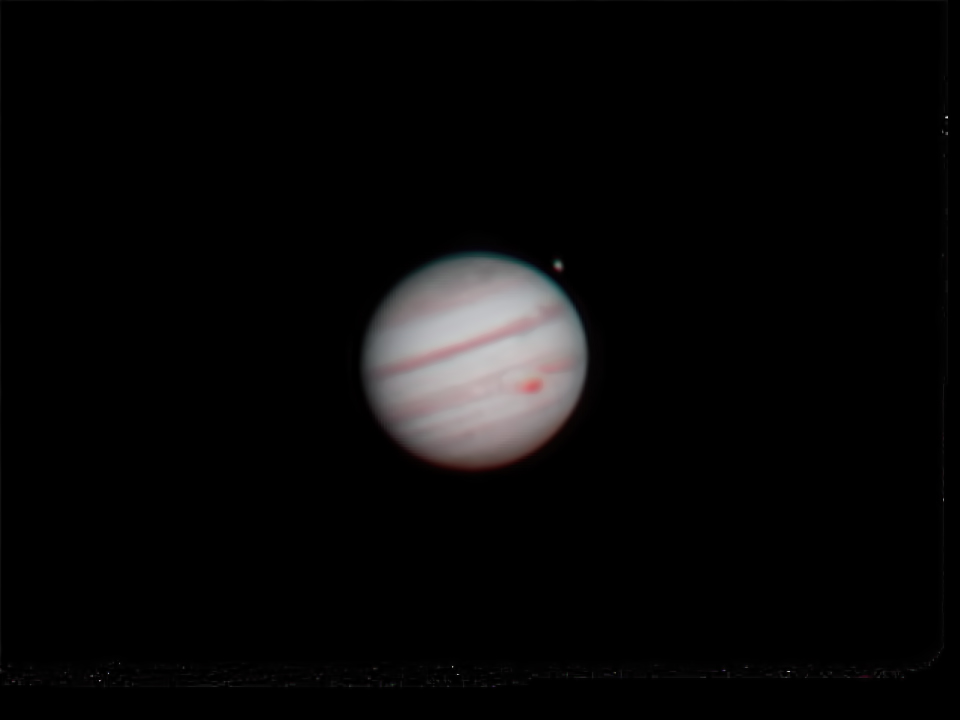
The observatory itself lends itself to both deep sky and also planetary imaging with the majority of the photographs in my “Introducing the night sky” talk having been taken in this observatory.
For Planetary/Lunar imaging additional equipment options are used. The main scope has a focal length of 900mm and coupled to either a Canon 6D or Canon 60D. The addition of a 2x barlow lens, Scopetronix Maxview DSLR II with a 25mm eyepiece proves a 72x magnification at f/15 with a 78° field of view. However, the Canon 60D has a “movie crop mode” which further extends the magnification by 7x.